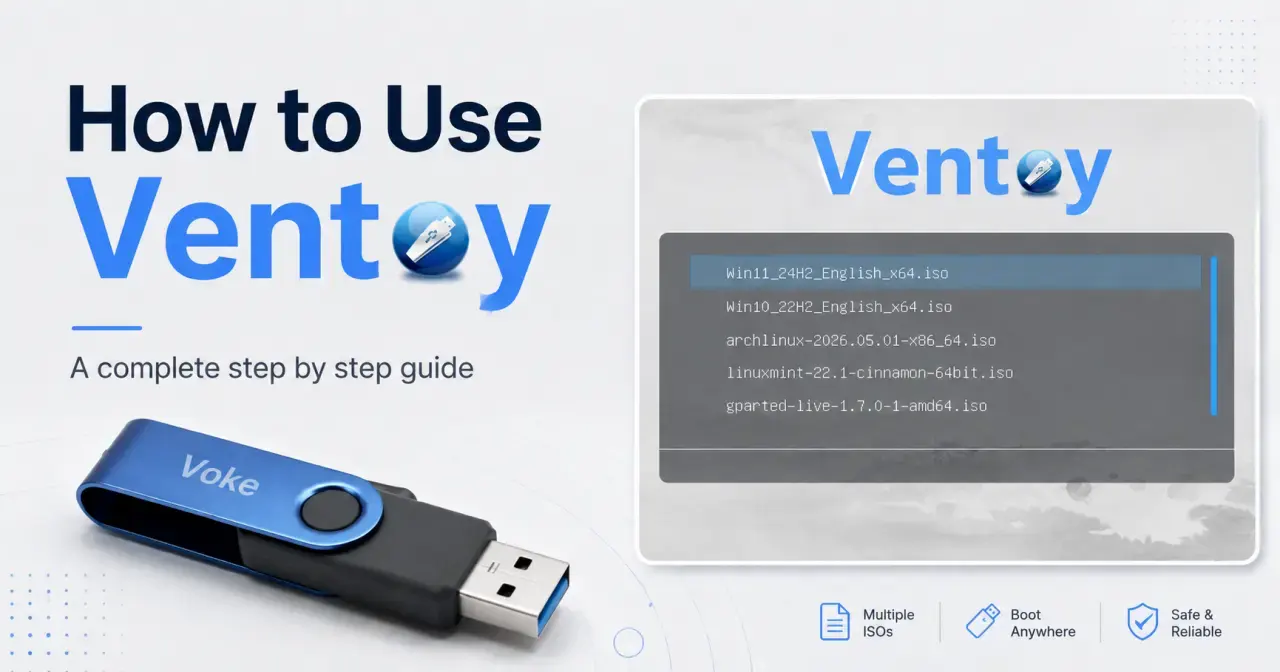
In a previous post, I geeked out about Ventoy, My Forever USB Companion, breaking down exactly why it's the absolute best tool for distro-hopping and indulging those late-night bursts of tech curiosity.
This time, let us actually use it.
Ventoy is one of those tools that feels almost suspiciously simple. You install it once on a USB drive, then instead of flashing one ISO at a time like the good old days, you just copy your ISO files into the USB like normal files.
GParted, Rescuezilla, Linux Mint, Windows, whatever your digital curiosity demands? Copy them all.
Then you boot from the USB, pick the ISO you want from the Ventoy menu, and you are in.
No re-flashing. No “wait, which ISO is currently on this flash drive?” confusion.
This is a complete beginner-friendly guide to setting up Ventoy, adding ISO files, booting from it, updating it later, and avoiding the little mistakes that can turn a simple USB mission into an all-night troubleshooting marathon.
What You Need
Before we begin, you need:
- A USB flash drive, size depends on what you wish to boot, really.
- A PC running Windows or Linux
- The ISO files you want to boot
- Ventoy downloaded from the official Ventoy website
Installing Ventoy will erase the USB drive you select. If there is anything important on that flash drive, back it up first.
Also, double check the drive you select before clicking install. This is not the moment to freestyle.
Step 1: Download Ventoy
Go to the official Ventoy website and download the latest version for your system.
- On Windows, download the
.zipfile. - On Linux, download the
.tar.gzfile. - On Arch Linux, skip the website, just open terminal and run
paru -S ventoy-binAssuming you followed my guide to Arch
After downloading, extract it somewhere easy to find, like your Downloads folder.
Step 2: Plug In Your USB Drive
Insert the USB drive you want to turn into a Ventoy drive.
Again, anything currently on that USB drive will be erased during installation, so this is your final warning before those files become digital dust.
Step 3: Open Ventoy
-
On Windows, look for:
Ventoy2Disk.exeRight click it and choose: Run as administratoryou know the drill -
On Linux, look for the Ventoy GUI file.
VentoyGUI.x86_64You may need to make it executable first. Or trysudo ventoyweb.shto launch a slick web-based installer right in your browser! -
On Arch Linux, Look for ventoy in your app menu! Yes, really. For an OS famous for making you manually configure your own shoelaces, this is almost suspiciously easy.
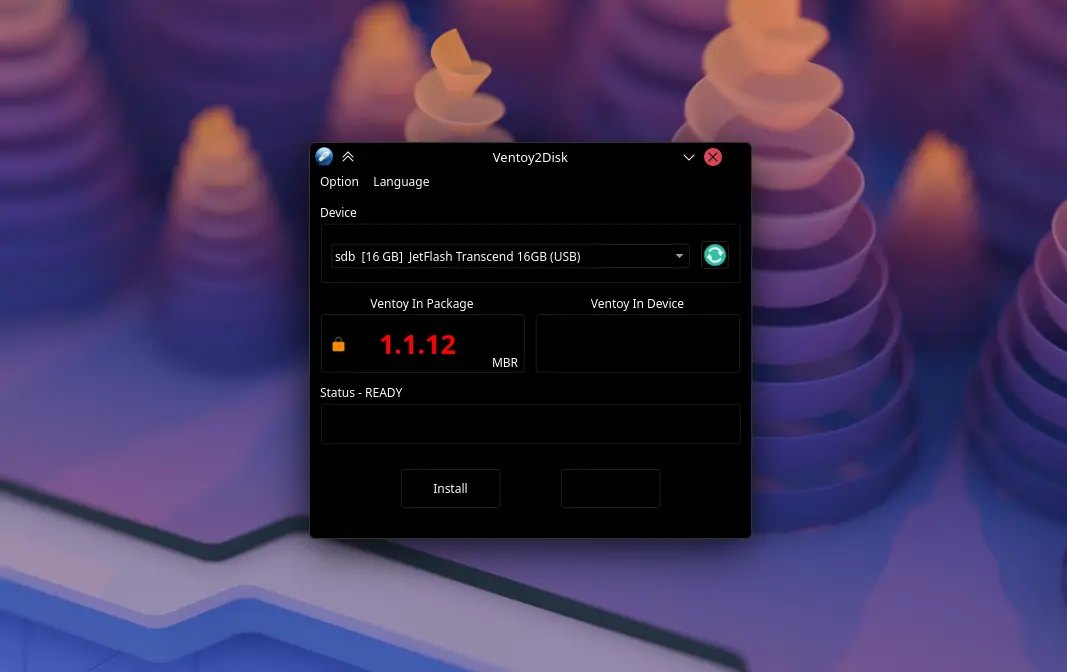
The OS wars officially end right here. No matter what OS brought you here, the rest of this journey is exactly the same.
Bonus: MBR or GPT, Which One Should You Choose?
Ventoy gives you the option to install using MBR or GPT. Don't overthink it, here is the rule of thumb:
-
Choose MBR: If you need maximum compatibility with both old and new computers. It is the safe option.
-
Choose GPT: If you are strictly booting on modern UEFI-only systems and want a modern layout.
If you're not sure, just stick with MBR.
Step 4: Install Ventoy
Once your USB drive is selected and your partition style is chosen, click:
Install
Ventoy will warn you that the USB drive will be formatted.
Read the warning carefully.
Then read it again, because this is where mistakes happen.
If you are 100 percent sure you selected the correct USB drive, confirm the installation.
Ventoy will now install itself on the USB drive.
When it finishes, your ordinary flash drive has officially become a Ventoy drive.
Time for Drag-and-Drop Magic
Unplug your USB drive and plug it back in. You will notice it mounts as a regular, empty external drive named Ventoy. No drama. Just open your file manager, locate your downloaded ISO files, and copy-paste them directly into the Ventoy drive.
That's it. Seriously. You can even create folders inside the drive (e.g., "Linux", "Windows", "Rescue Tools") to keep your ISOs organized. Ventoy will scan the subdirectories and find them anyway.
Step 5: Booting Up
Restart your PC and access your BIOS/UEFI boot menu (usually by spamming F12, F8, F2, or Del during startup).
Select your USB drive.
Instead of booting straight into a single installer, you will be greeted by the Ventoy GRUB menu, showing a list of every single ISO you pasted onto the drive.
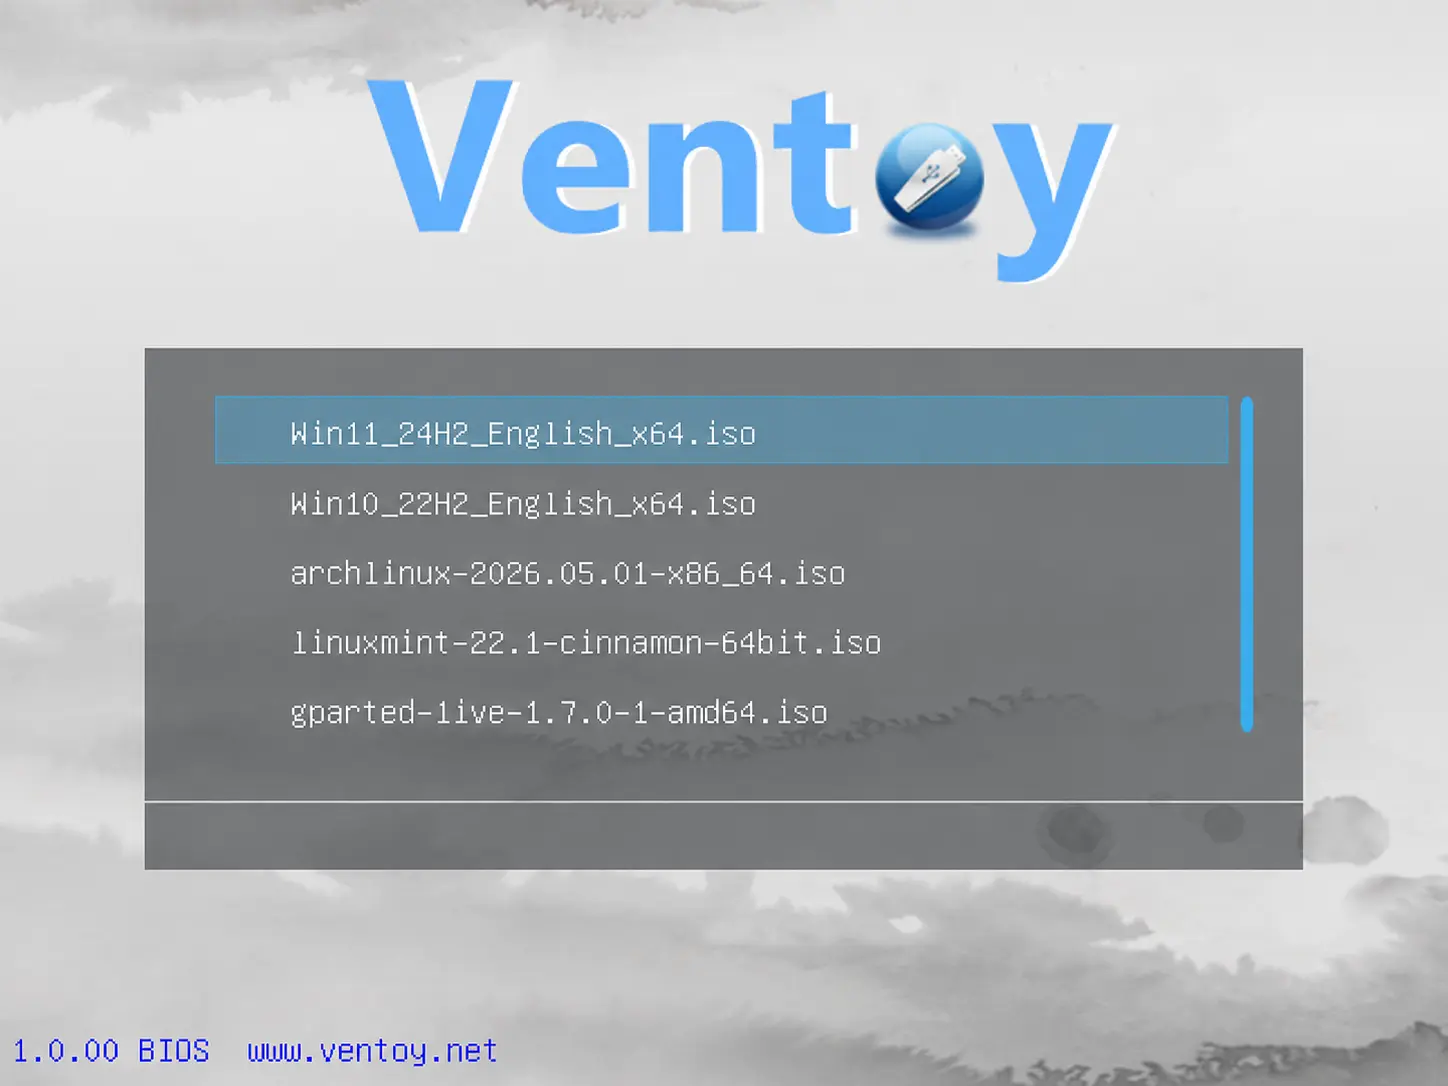
Use your arrow keys, pick the one you want to boot, hit Enter, and watch the magic happen.
What About Secure Boot?
Secure Boot can be a little dramatic.
Ventoy supports Secure Boot, but depending on your computer, you may see a blue verification screen the first time you boot Ventoy with Secure Boot enabled.
Follow the on-screen steps to enroll the key provided in the USB.
This usually only needs to be done once per computer.
If Ventoy refuses to boot properly with Secure Boot enabled, you may need to disable Secure Boot in your BIOS or UEFI settings.
That is not always ideal, but sometimes firmware decides to be firmware.
Update Ventoy
Ventoy gets frequent updates. The absolute best part? You can upgrade the Ventoy installation on your USB without formatting the drive or losing any of your precious, hoarded ISOs.
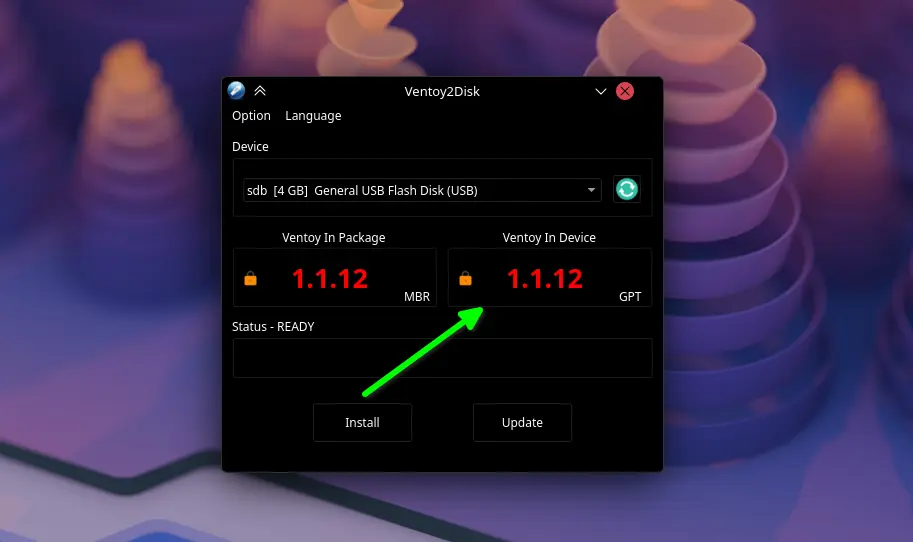
Whenever a new version drops, just open the Ventoy GUI app again using the exact same steps from Step 3.
Next, select your USB drive from the dropdown, and instead of clicking Install, just click the Update button.
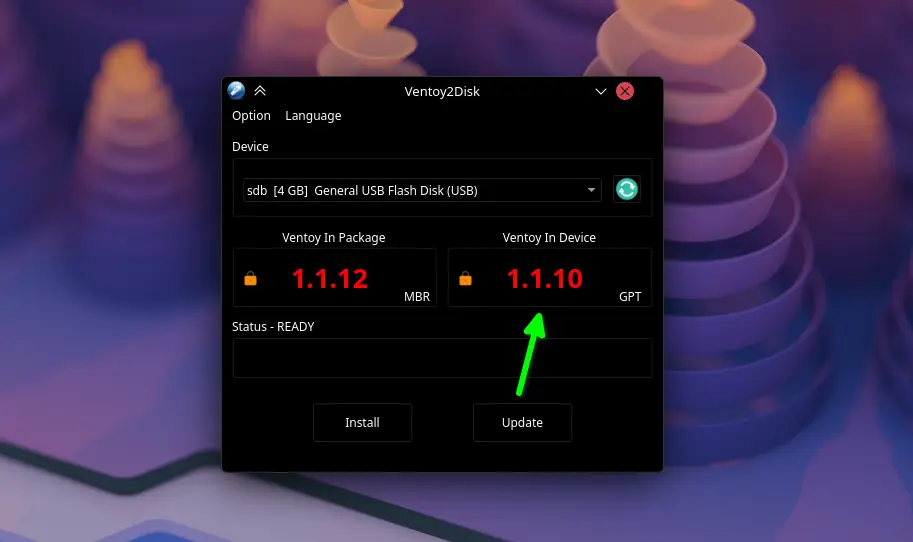
The app will update the backend files on the hidden boot partition, leaving your main storage partition completely untouched.
Stay Curious,
Sham.